Tuesday, December 16, 2014

Shape and Form in the Garden

Iris's
Bunny tail grass in Winter
Winter is a wonderful time to really appreciate the shape and form of the plants in your garden.  As the frost coats the landscape in a crystal sheen, the texture of the garden outshines the colours. While the flame framework of dogwoods and fiery foliage of heavenly bamboo put on quite a show, the remainder of the garden mellows. Corkscrew Witch Hazel, spiraled Euphorbia, and radial pine trees can be fully appreciated when encrusted with frost. Seeds, nuts and berries accessorize many plants.  Over the last month, the course has been closed for several frost delays. It's an excellent time for zealous members to keep there pyjamas on a peruse their favourite edition of Golf Digest at home.

Euphorbia
Personally I really appreciate these days at the course for studying the framework and architecture of the gardens and mentally editing areas for future improvements. It is an austere and elegant season. The golf course is very still and silent and a perfect time for contemplation. The morning sky is stained pink and the air is filled with the sound of rattling seed pods and geese over head. It's pretty magical. I've been taking the time to take some snap shots of the garden in all it's Wintry glory so everyone can peruse them from home. I hope you enjoy it!
Heavenly Bamboo
Hydrangea under frost
Corkscrew Hazel Tree


Wednesday, November 26, 2014

Winter Winter Winter

Yesterday marked one month until Christmas.  The next thirty days will be a whirlwind of family, friends, feasts and fancifulness. I admit I like to get caught up in it all but it feels like a wild weekend in Vegas. I wake up with an empty wallet and a fuzzy memory of all the activity. This year I hope to spend more time appreciating every moment.

We have gotten a head start at Quilchena. Jason has started playing Christmas music around the Turf Care Centre. The clubhouse staff has been busy decorating the inside and Nick has been adorning the outdoor trees with lights. It's a pretty special time.  This morning I was able to share my own version of Christmas at the front entrance. I was inspired to create a Winter scene complete with;  snowballs, gifts, pine cones, conifer foliage and antique ice skates. I hope you all like it. It would be great to hear what the holiday season means to each member. I'm sure everyone would create there own magical scene!

Friday, October 10, 2014

Sweet Potatoes for a Happy Thanksgiving!

Gardening is so fascinating because there is always another level to it's profound nature.  Digging
through the dirt can reveal a lot of information about the health and vigor of the plant.  If the soil is healthy then generally the plant is healthy (assuming it's the right plant in the right place). Getting your hands dirty can be really rewarding, especially today. I've been removing the Summer annuals as they start to lose their spark.  A third of the containers displayed an ornamental sweet potato vine, in either chocolate or chartreuse foliage. The plants are decorative and eye catching, additionally they provide an edible sweet potato tuber. I pulled nine edible sweet potatoes out of the containers. Today's yield is going to Assistant Superintendent Josh to take home in an attempt to make a sweet potato pie just in time for Thanksgiving. These plants may not be quite as flavourful as the grocery store variety, but completely edible. Maybe dig around in your home containers and throw them in your next meal!

Wednesday, September 3, 2014

Ode to an Odor

It's here! My favourite time of the year.  I could smell Autumn in the air this morning and it was fantastic. Next time you have the pleasure of walking up to the front entrance of the clubhouse, take a moment to breathe it in.  It's the sweet smell of cotton candy and it's created by the Katsura tree (Cercidiphyllum japonicum) losing its leaves. This statuesque tree turns a soft peachy yellow colour in the Fall that almost seems illuminated by the daytime sky. There are two Katsura trees framing the front gazebo bed, both of which *survived the fire that took over that garden bed just a decade prior. Additionally, in this garden is a mass planting of lavender that has bushed out into a second growth for the season. Lavender is one of my favourite fragrances.  If you brush past it, the air fills up with a fresh herbal odor. I like to pretend I'm in Provence.

Soon, the clouds will get heavy with water and the leaves will drop. The sky will fill with the smell of smoke and wet leaves. The earth will become damp and rich. And on those dry days and cool nights the leaves will rattle across the pavement and the long, bold sunsets will stain the sky. And the pumpkins will get plopped on front porches and silent messages will be left in the air as people leave smoke signals with their breath.  Sorry, I got a little poetic there.  Either way, I'm obviously very passionate about the start of this new season.

As, I've been writing this long, flowery pose the sun just broke through the clouds and started warming up the place. Perhaps, we have an Indian Summer on our horizon.  It seems Fall will just have to wait a few more weeks before it's big reveal.

*Sidenote: Please do not throw cigarette butts into the garden beds. The bark mulch can catch on fire.

Wednesday, July 2, 2014

The Dance of the Black Eyed Susan and the Russian Sage

Could there be a lovelier duo then the mid Summer combination of Black eyed Susan (Rudbeckia fulgida 'Goldstrum') and Russian Sage (Perovskia atriplicifolia)? It's the yin and yang of the garden world. The warm sunny daisy face of the the black eyed susan paired with the cool silvery foliage and purple blooms of the Russian Sage.  The upright stems of the black eyed susan look stunning beside the wispy foliage of the Russian Sage. It's warm and cool.  Hard and soft. This full sun plant combination has a long run of cheering it's admirers.  From mid Summer until Fall it outshines it's competition.  Due to my admiration I've planted this combination in the bed at the #18 hole and if I dare say it looked pretty stunning.
These plants are also present at the #9 hole.  The Russian Sage reaches a mature height of 3-5 feet and about a 2 foot spread.  The Black Eyed Susan maxes out at about 30" tall. This versatile plant flourishes in; dry clayey soil and rich moist soil, hot Southern U.S. Summers and Alberta Winters. No wonder it was chosen as the Perennial Plant of the Year in 1999.  The Russian Sage is a member of the mint family. Crush the leaves to release the herbal fragrance. A totally delightful pairing for a prairie perennial garden bed.  Throw an ornamental grass in there and you have yourself a garden party!

Wednesday, June 18, 2014

Summer Loving

Sunday is Summer Solstice. I'm trying to decide what I want to do on the longest night of the year. Maybe work on my tan in the EVENING (just because I can). I'm interested what other people do to celebrate the beginning of the Summer season. If you want to share please add it to the comments section.  Either way, these extended days are really lending themselves to more renewed energy.  The birds are definitely feeling it too. Most days I find the barn swallows attempting to build a nest in the Horticulture garage if I leave the garage door open too long. The resident coyotes have given birth to a litter of six cute and bouncy pups. Apparently, they have been spending a lot of time on the West side of the #1 hole. There is so much activity outside. I recently discovered a hummingbird hawk moth siphoning the pollen from the containers at #1. In my ten years of gardening I had never seen one before. Needless to say, I was pretty excited.

I'm also happy to say that the perennials and annuals are maturing for the year and the bed near the #9 hole is starting to take shape. In the last blog post I promised I would  provide the plants selected for that garden bed.  The plants were chosen primarily for it's Summer and Fall interest (i.e. the busy season). Warm yellow, cool blue/ purple, pure white/ silver and chocolate brown are the main colours used throughout the bed. I chose these hues to complement other garden beds and to be welcoming and calming. A mass planting of feather reed grasses were used in the center bed to create the illusion of a sea as the grasses move in the breeze.  Groupings of lavender were planted near the pathway to provide a pleasant aroma in the warm Summer months. Ultimately, it's a Summer prairie perennial garden bed and it should really be coming alive as we progress into these warm Summer days. 

Here is the plant listing for the beds:

Shrubs

Variegated Red Twigged Dogwood - Cornus alaba 'Elegantissima'
Dwarf Fothergilla - Fothergilla gardenii 'Mount Airy'
Heavenly Bamboo - Nandina domestica 'Gulf Stream'

Grasses

Feather Reed Grass - Calamagrostis acutiflora 'Karl Foerster' 
Mexican Feather Grass - Stipa tenuissima 
Blue Oat Grass - Helictotrichon sempervirens
Sedge - Carex oshimensis 'Evergold' 
Purple Fountain Grass - Pennisetum setaceum 'Rubrum' 

Perennials 

Cardoon - Cynara cardunculus
New Zealand Flax - Phormium tenax
Black Bugbane - Actaea simplex 'Black Negligee' 
White Conflower - Echinachea purpurea 'White Swan'
Purple Coneflower - Echinachea purpurea ' Magnus'
Cranesbill Geranium - Geranium 'Johnson's Blue' 
Perennial Sage -Salvia nemerosa 'May Night' 
Russian Sage - Perovskia atriplicifolia 
White Blazing Star - Liatris spicata ' Floristan Alba' 
Evergreen Spurge - Euphorbia characias 'Glacier Blue' 
Threadleaf Coreopsis - Coreopsis verticillata 'Moonbeam' 
Oriental Poppy - Papaver orientale
Phlomis - Phlomis tuberosa 'Amazone' 
Jerusalem Sage - Phlomis fruiticosa
Stella de Oro Daylily - Hemerocallis 'Stella de Oro' 
Spindle 'Emerald and Gold' - Euonymus fortunei 'Emerald and Gold' 
Rock Rose - Cistus purpureus 'Alan Fradd'
Fred Boutin Lavender - Lavandula intermedia 'Fred Boutin'
Wooly Thyme - Thymus pseudolanuginosus

Sunday, April 20, 2014

Happy Easter!

It's Easter Sunday. Happy Easter! Finally, Spring is upon us. The anticipation of the Summer is here. At the Turf Care Center that means earlier and earlier start times.  Soon we'll be arriving at work when most party goers are still making there way home. It's the season of really long days and really really short nights. Excuse me while I just put my head down for just one second.....zzzzzzzzz....I digress. More to the point, it's the season where the air warms up and we reunite with all of the slumbering plants cozy under the soils surface. We've already seen the perky daffodils and tulips welcoming us through the entrance and the woody deciduous shrubs budding into new foliage for the season. I love the bright new red tips of the Photinia shrubs bordering the parking lot. It's my favourite time of the year to traipse around the garden and look for any new discoveries. I've noticed the herbaceous perennials are starting to plump up and are getting ready to put on a show soon.  Also, the iris's bordering the main pond are standing on guard and getting ready to bloom.  Currently, the young creamy yellow magnolia trees are blooming and timing perfect with the daffodils below them.  It's definitely the season of new beginnings and the season for Gardeners to reflect on their designs from the year before. 

This year has also seen the genesis of three new garden beds. The finishing touches are just being made to the beds at the #9 hole. They serpentine along the 180 foot walkway adjacent to the west side of the clubhouse. Unfortunately, an irrigation pipe burst at the foot of the main bed the day after planting was completed.  The Irrigation tech is waiting for a dry day when his schedule is free to fix the pipe.  Then that area will be patched up and replanted. High traffic turf and a heavy sand composition base was placed around the perimeter of the beds last week. The turf was modified from 3 feet to 2 feet. It will require a few planting adjustments to balance out the project. It's very close to being completely completed. Unless of course another pipe bursts or a parade of elephants decides to tromp right through the beds. Those variables aside, it's looking good. I'll follow up with another post soon about the plants in the #9 bed.  Enjoy your Easter holiday and I hope you all have some delicious sea salt dark chocolate hidden in your backyard and a cuppa hot early grey tea and a hot cross bun (not the stale grocery store kind, but the extra fluffy ones from the bakery...you know the kind)!


Thursday, March 13, 2014

Pruning Roses 101

If you have ever pruned a rose bush in your life than you have inevitably been pierced with a rose thorn (because it happens every time).  This is when you become truly aware of the fragility of the human body...it hurts.  I would take a picture of my bloody hands from the the last two days of rose pruning but it might offend readers. It's the yin and yang of beauty and pain.  You have to prune these little buggers every year in the break of Winter to force them to bloom fantastically in the flush of Summer.  Be armed, be prepared, be savvy!  This battle occurs at the first sign of Spring, when there is no sign of frost on the forecast, generally mid-February to early March, or when the daffodils start blooming.
Rose Thorns

All the spent rose leaves should have been cleared already from under the plants when they first drop (late Fall), this should eliminate any potential mildew or black spots. I would also suggest clearing any accumulation of mulch or leaves from the base of the roses to avoid burying the plants.
Black Spot

Also, I hope you've been able to take advantage of the ripened rose hips to make all your Vitamin C rich teas and tinctures over the fall and winter months. If not, harvest those before disposing of your rose clippings.  Here is a link to some harvesting and recipe ideas.
Rose hips
Make sure you are armed with sharp and CLEAN secateurs.  I've stressed the clean part because roses are very susceptible to diseases that can be transferred from dirty tools. To disinfect your secateurs you can use any household disinfectant.  I often use a Lysol product and a towel or if I'm close to a water source...soap and water works wonders.  Also, purchasing a pair of rose safe gloves might be a good investment if you have a lot of rose pruning on your agenda.  These gloves have a slightly thicker plastic coating to prevent thorns from piercing through the gloves.
Secateurs
Rose Gloves 

Proper Pruning

Prune to open up the plants for light and air circulation and to avoid overlapping branches.  Attempt an elk antler or vase form.  When removing a dead, diseased or damaged branch, remove it from the base entirely.  Also, remove any weak or suckering branches.  Aim to keep the strongest branches that are growing away from the center of the plant.  Roses have alternate leaf arrangement.  So when pruning the roses align your secateurs to the leaf buds at a 45 degree angle and clip about 1/4 " above the bud that is facing toward the outside of the plant.  This is really important because if you leave too much of a stub from the leaf bud it will require the plants energy to replenish the plant instead of using that energy to force a leaf.  Alternately, if you cut into the leaf bud, the plant will die back to the next leaf bud and will potentially leave it open to infection.   In other words, prune it effectively in the beginning and avoid injuring your prized rose bush.   One of the most common varieties of roses is the hybrid tea.  When pruning a hybrid tea rose you want to cut it down by about a half or 18-24".  
Hybrid Tea Rose

Now, rake all of the debris from under the roses that may have fallen off during this process and dispose of all your clippings.  Put it in the green waste bin or garbage.  These are not compost worthy scraps, unless you have a high heat composter that can kill off any potential fungal diseases.  Clean and dry your tools. Tada...you're done!  Now you can wait it out for the buds to swell and fast forward a few months and everyone will ask why you have such beautiful roses.  

Of course, this is Rose Pruning 101.  It can get a bit more complicated when you start to get specific on different varieties of roses.  And, there are HUNDREDS of rose cultivars. Here is a quick link from the internet of the major rose varieties and slight pruning variations.


BLOOMS ONCE, ON NEW GROWTH

Modern Ever-Blooming Roses & Floribunda: These bloom best on the current season's growth. Prune hard (½ to 2/3 the plant's height) in the spring and remove old woody stems. Leave 3-5 healthy canes evenly spaced around the plant. Cut them at various lengths from 18 - 24 inches, to encourage continuous blooming.
Hybrid Teas & Grandiflora: These also bloom on new wood and should be pruned in early spring. Remove dead and weak wood. Create an open vase shape with the remaining canes by removing the center stems and any branches crossing inwards. Then reduce the length of the remaining stems by about ½ or down to 18 - 24 inches. You can allow the older, stronger stems to be a bit longer than the new growth.

BLOOMS ONCE, ON OLD WOOD
Ramblers: Prune to remove winter damage and dead wood or to shape and keep size in check. Ramblers bloom only once and can be pruned right after flowering, all the way back to 2-3 inches if you wish.

REPEAT BLOOMERS
Modern Shrub Roses: This group is repeat bloomers, blooming on mature, but not old, woody stems. Leave them unpruned to increase vigor for the first 2 years and then use the "one-third" method. Each year remove one-third of the oldest canes (in addition to any dead, diseased or dying canes).
Climbers: Climbers may repeat bloom. Prune early to remove winter damage and dead wood. Prune after flowering to shape and keep their size in check.
Bourbons and Portlands: These will repeat bloom, blooming on both new and old wood. Prune to remove dead wood before flowering. A harder pruning and shaping can be done after the first flowering.

MINIMAL PRUNING NEEDED
Alba, Centifolia, Damasks, Gallica, and Mosses: This group blooms only once, producing flowers on old wood and don't require much pruning at all. Prune only to remove dead or thin wood and to shape the plants and prune after flowering.


Tuesday, March 4, 2014

A Very Belated Year In Review 2013

I wanted to share some of the photos I took over the 2013 season. I'm sure everyone has some beautiful shots of Quilchena taking up valuable room on the memory card of there phone.  If you wish to share them please add them to the comments section. I'd love to see them!

The subtle Gunnera leaf taking up valuable space in my cart

A storm a brewing

Gorgeous Summer day cruising along the #10 hole

Sprinkler velocity

The heron investigating the koi pond for sushi

Wildflower seeds amass along the dyke and #4 hole

Captain Jack, our new member to the Grounds crew

A foggy eight legged kind of day

The Burning Bush in all it's glory near the putting green

A week of fog and weather confusion at Quilchena

First frost

Multi-layered sunrise igniting the sky

Where's the Cat in the Hat?

Aaron and Jay overwhelmed by Winter morning sunrise

Thursday, February 20, 2014

Caution- Garden in Progress

The hedge has been removed.  My spade has broken ground and the garden bed is starting to take shape.  All this action is happening adjacent to the #9 hole.  But, please be patient.  The completed garden bed is still a ways a way. An inexpensive temporary fence has been assembled for safety against a potential screamer of a shot. It will be removed when the garden has been completed.

In the meantime, I'm using the existing clay soil for the garden bed to minimize the cost of purchasing an abundance of new soil.  Unfortunately clayey soil can be challenging for gardening. The clay particles lie flat like sheets and can compact really easily, making it difficult for delicate plant roots to break through the soil. This can minimize plant size and vigor. That being said, I'm going to attempt a few different strategies to transform the texture of the soil.  An application of lime can soften the clay soil as it leaches through.  Also, I'm using the leaf mulch that has been culturing near the Horticulture garage for the last year and a half (I wrote an earlier article on my leaf composter). It's full of all sorts of beneficial insects and rich organic matter.  I'm excited to see the insects work through that clayey soil and search for the nitrogen rich turf on the underside of the clumps of earth. This action will improve the porosity and fertilization of the land. Additionally, a large application of compost will be topdressed over the entire area of the garden beds prior to planting.  

The concept for the finalized design will be a prairie perennial border amass with ornamental grasses and bright summer blooming flowers paired with plants that have all season interest.  It should be a very lively and inviting series of gardens when completed.  Posters have been made that detail the project. There is a poster in the kiosk as well as on the bulletin board outside of the mens changing room.  Have a look and feel free to direct feedback my way. 

Wednesday, February 12, 2014

Love Birds for Valentine's Day

I just came across an excellent gift suggestion for Valentine's Day.  I was browsing the O.W.L. Orphaned Wildlife Centre website and noticed that you can adopt an orphaned owl for the year for $20. Not only that, you can adopt a couple for $30. Imagine adopting Blinkey and Casper (the Great Horned Owl's) or Flash and Curly (the Bald Eagles). Those little love birds could be shown a little love during the season of love.  It's a way better gift than a dusty box of stale chocolates or a lousy Hallmark card!

O.W.L. is a volunteer based organization based out of Ladner that rehabilitates injured predatory birds in the Lower Mainland. It's a huge support to have a facility like this nearby to help protect these important bird species. Just last year alone O.W.L. picked up an eagle and two owls from the Quilchena grounds and successfully returned two of those birds back to nature. Over the years, they have nursed numerous valuable birds back to health from this course. These passionate volunteers undergo a pretty extensive education program to ensure the best health to their feathery patients. Please help support this most worthy local organization and you'll feel all warm and fuzzy for Valentine's Day!


Wednesday, February 5, 2014

Fresh and Hedge Free Walkway

It's official. The hedge was removed from along the #9 hole yesterday.  Personally, I've been waiting for this moment for close to two years now.  I'm really excited! The hedge was failing and beyond recovery. It was integral that we remove the hedge and freshen up the area to improve the appearance of this high traffic walkway. I have big plans for this space.  The plans are currently waiting the approval of the Golf Committee, which meets on Tuesday. If you have any feedback, concerns or questions please either contact myself or a member of the Golf Committee before the 11th so that we can address any issue before installation is underway.

The concept for my proposed design was inspired by Dutch Landscape Architect Piet Oudolf's designs. I think his design style would be really effective at Quilchena. Mr. Oudolf used mass plantings of ornamental grasses and prairie perennials to create strong impact with a relaxed and inviting effect.  

Piet Oudolf design of mass planted grass
The plan for the area at the #9 hole has three garden beds broken up with two exits from the green to the primary pathway.  The beds would be serpentine shaped and the two larger garden beds would be massed with the grass Calamagrostis 'Karl Foerster'.  This grass has an erect habit with medium sized seed pods.  It would be dense enough when mass planted to catch stray golf balls and yet short enough to obscure, but not block, the view of the golf course.  The movement and the reflection of light from the tips of these grasses creates a really ethereal appearance.  Among the grasses would be strategically spaced shrubs for Late Winter interest, when the grasses are sheared short. Prairie perennials and bulbs would be planted throughout these beds to create colour and contrast. The smaller bed on the South side would be the showy front entrance bed planted with perennials and annuals for high impact. Grasses are a really economical option for this area and high impact. These design would be fresh, fun, relaxing and inviting!  

Here is some pictures of the hedge before and after removal. 

Before
After


Monday, January 13, 2014

Pink Dawn

One of the few flowering gems at this time of the year is the lovely Pink Dawn Viburnum (Viburnum x bodnatense 'Pink Dawn').  This deciduous shrub drops it's leaves in fall and bursts fragrant powder pink blooms, from red buds, on its rough branches from Fall until early Spring. These blooms are later followed by bird-attracting red berries that mature to black. These shrubs look absolutely at home in a woodland garden bed and especially when in close proximity to a Winter blooming Witchazel and a mass of red twigged dogwood.  Quilchena has three Pink Dawn Viburnum shrubs massed in the centre of the garden bed adjacent to the parking lot and the pond at the #18 hole. When you're making your way to the #10 hole take a look to the right and check out these Winter wonders. These bushy shrubs eventually reach a height of up to 10 feet with a potential 6 foot spread by maturity.  They prefer full to part sun with well drained soil.  It's an excellent Winter specimen plant for the Westcoast.  If you have some extra room in your back border I would highly recommend picking one of these up.


Thursday, January 9, 2014

White Gardens

The last article I wrote was in reference to Moon gardening, using the moon cycles to dictate proper stewardship of the land.  The ideas of Moon gardening made me think of the white gardens in Sissinghurst Castle, which in my mind stands as a model for the modern day moon garden because it is most appreciated at twighlight. Vita Sackville-West, and her husband, designed and built the gardens in the 1930's on the grounds of Sissinghurst in the county of Kent in South East England .  She designed the gardens to have different "rooms". In one of these rooms she filled the space with white blooming flowers, and plants with foliage in silver and grey. This monochromatic design was created to reflect the brightness of the moon and fill the garden with light and enchantment in the darkness of the night.


When I owned a Garden business, a client of mine requested a white garden be built in her "back 40" as a memorial to her late husband.  It was a charming space underneath a Horse Chestnut tree carpeted with moss.  She wanted the garden to feel like it was just chanced upon and that it held stories. She wanted a small table and two chairs to have conversations with her husband, if by chance he came by for a visit.  But also as a space for serenity and reflection.  A small rock gurgler water feature was placed near where she sat and two ornately carved concrete planters anchored the entrance. They eventually softened with a moss patina. A large urn concrete planter filled with white blooming plants and trailing ivy sat underneath the base of the tree.  Soft grey cobblestone pavers were embedded into the moss to create a small pathway leading into the space.  Mass plantings of shade loving ferns and perennials, in shades of silver and white, bordered the forest floor and cascaded down the planters.  It certainly became the enchanted and serene space that she had imagined.

White gardens are pure, transcendent, fresh, luminescent and magical.  When the green backdrop mellows in twilight, the brightness of the white plants really start to shine. When building a white garden it's important to remember all of your senses are enhanced in the darkness of the light.  There is a certain drama that precedes white gardens.  As the lights dim our other senses are more dominant. I think it's valuable to take advantage of these qualities.  A wholly thyme groundcover underfoot softens the space and fills the air with the essence of herbs. Consider planting ornamental grasses, like the gentle Mexican feather grass (Stipa tenuisima), that move in the lightest breeze and make the space come alive. Mirrors can be attached to a wall, fence or trellis to reflect more light and create the illusion of a keyhole into another garden. A well placed stone or concrete structure demand attention and can create the most interesting shadows.  A water fountain or pond contribute to the space through light reflection, movement and sound. Wooden structures, like fences, arbors and walls, can be painted white to reflect even more light to the space. They can also be stained in dark colours to soften the background and provide the illusion that the plants are climbing on their own. Backlight a tree or illuminate a pathway with soft lights to really awaken the space. There are so many tricks to complete this magical story.

There are plenty of our perennial favourites with white blooms. Some of my personal favourites are white blooming Wisteria (Wisteria floribunda 'Alba'), White Lavender (Lavendula x intermedia 'Alba'),Visions in White Astilbe (
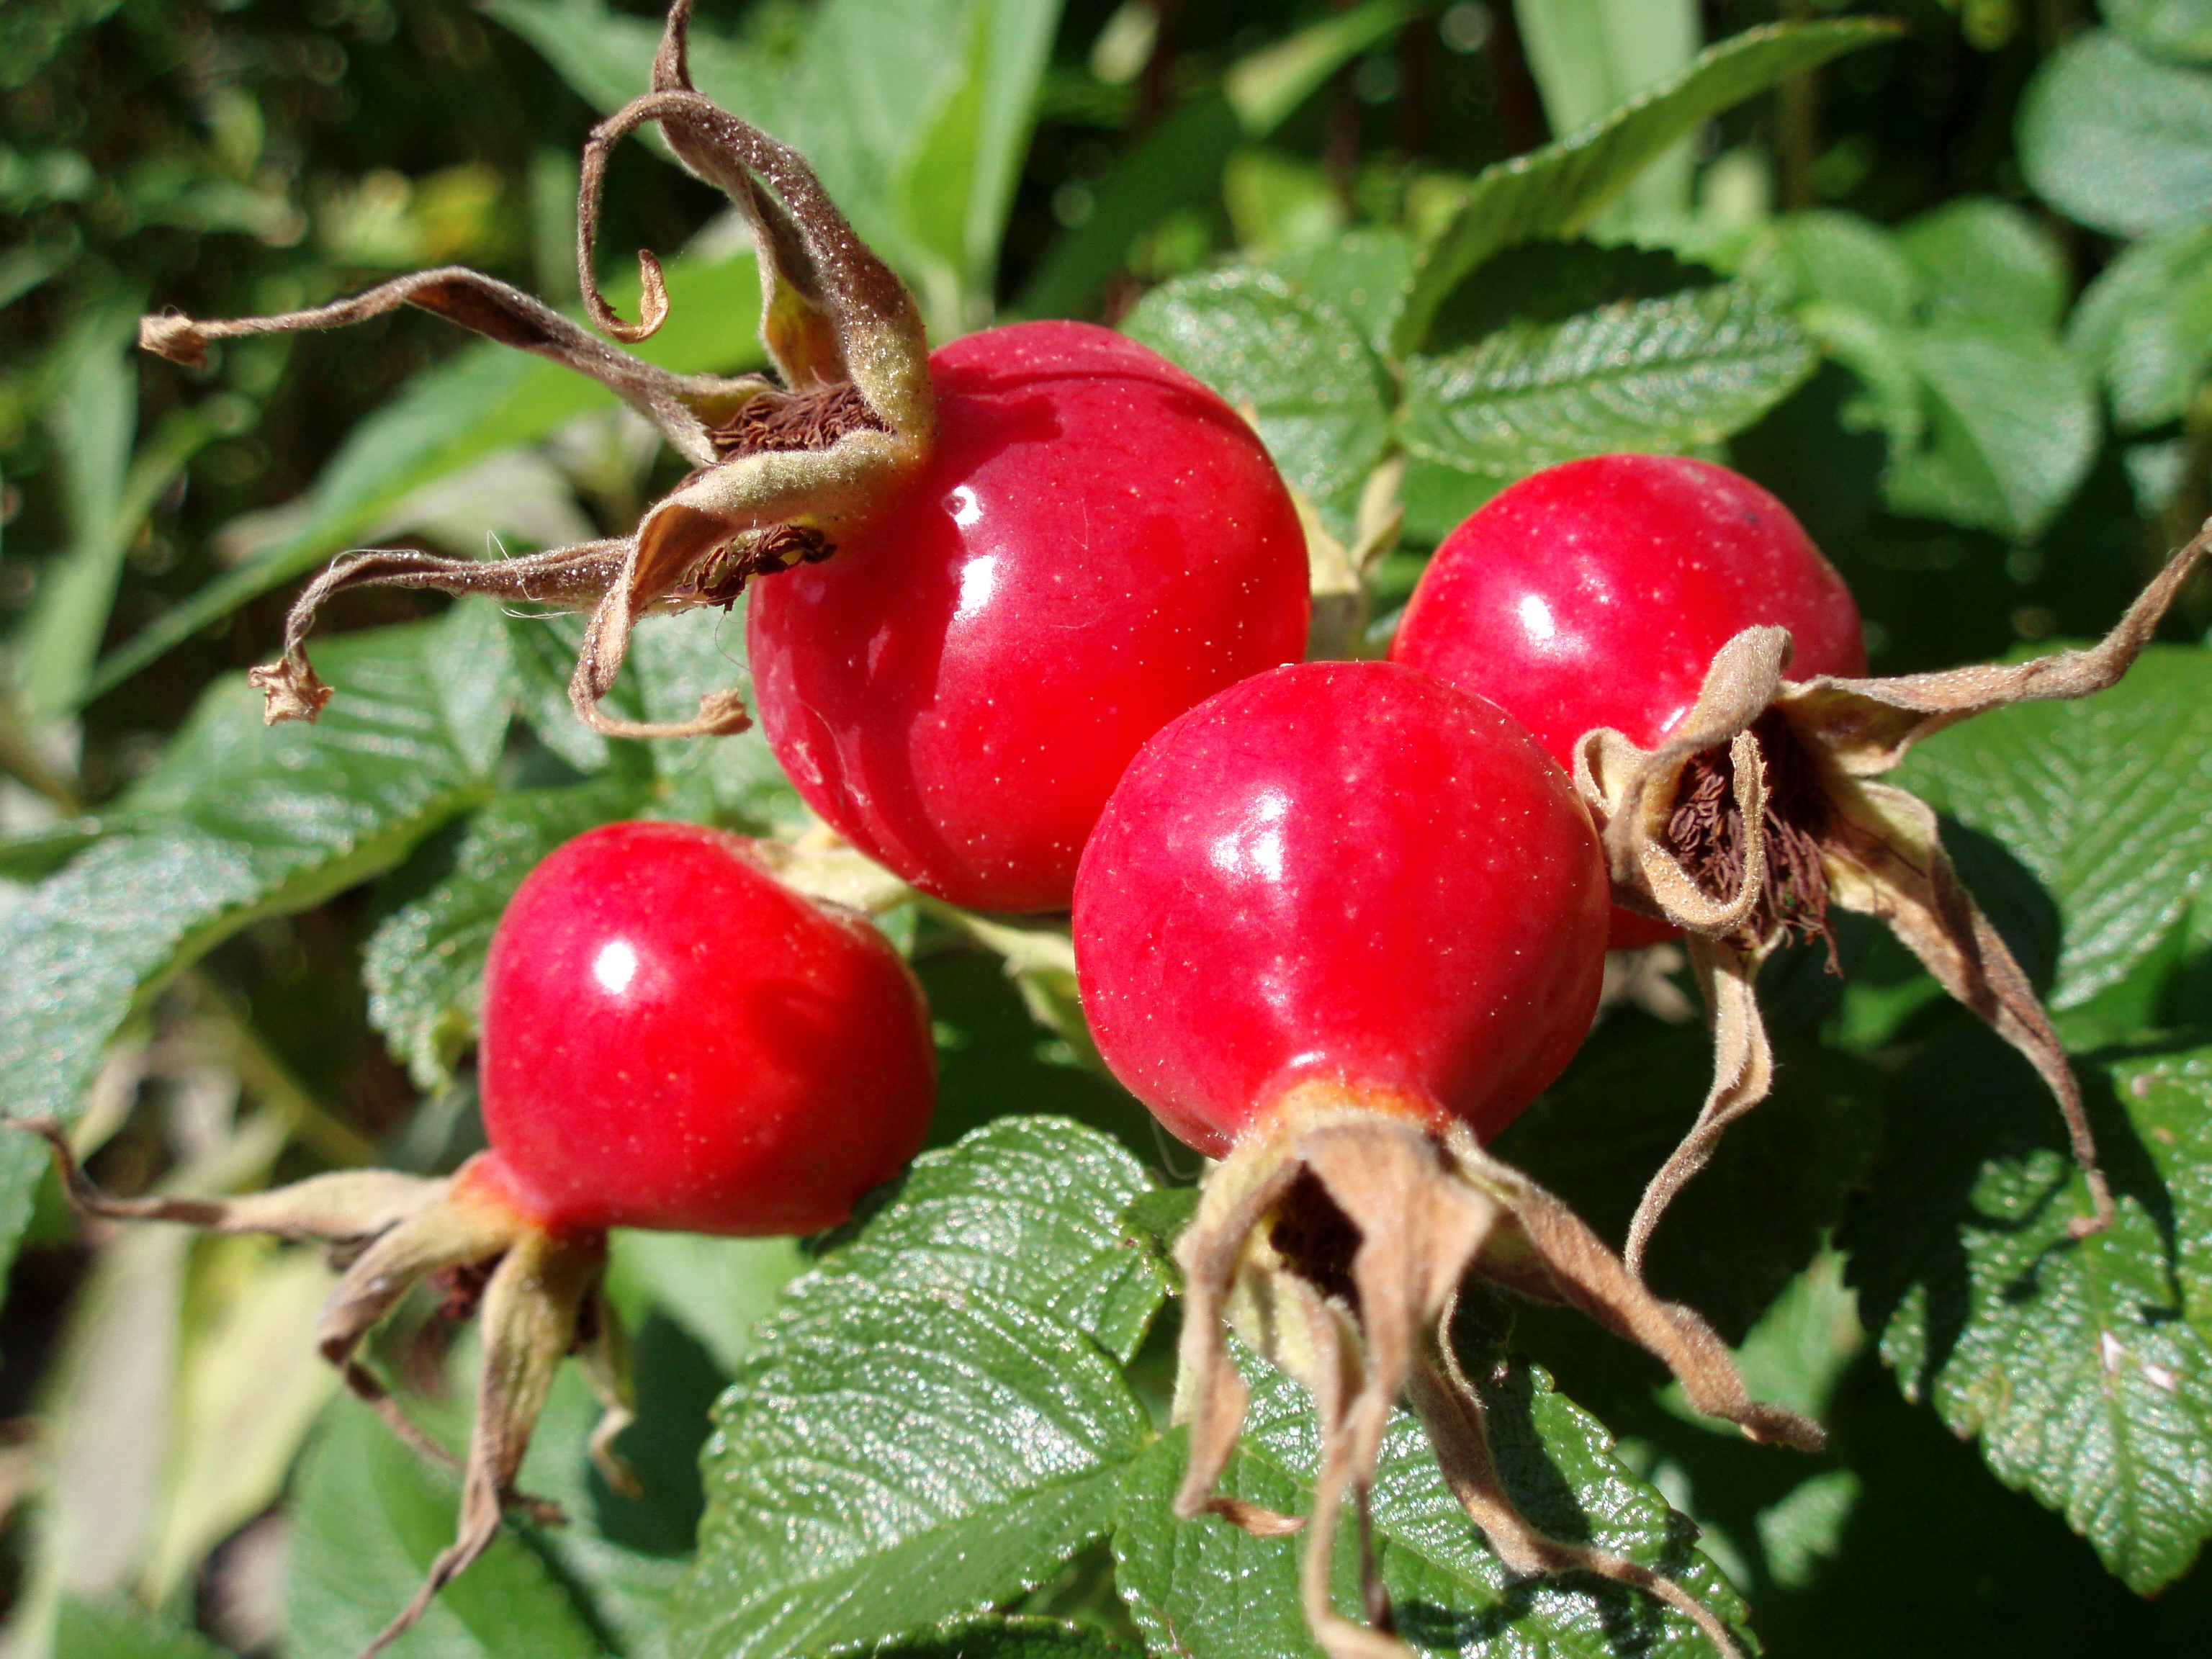
Astilbe chinensis 'Visions in White'), Iceberg Rose (Rosa floribunda 'Iceberg') and the double flowering Clematis 'Arctic Queen'.

There is of course new varieties of plants being hybridized every day with silver and variegated foliage that would be really successful in a white garden.  Silver foliaged Artemisia, Lamb's ear (Stachys byzantina), and Glacier Blue Mediteranean Spurge (Euphorbia characias 'Glacier Blue'), Siberean Bugloss (Brunnera macrophylla "Jack Frost"), Lungwort "Silver Shimmers", Snow-in-Summer (Cerastium tomentosum), and Sea Holly (Eryngium maritimum) to name a few.

I hope you have the opportunity one day to create a white room in your garden some day! Have a serene and reflective day!